Straw Hat Making 101
Instructions are for Dollhouse size Straw Boater.
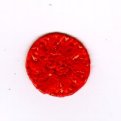
| Step
1
The Crown
|
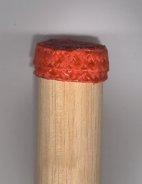
Step
2
Glue two flat strips of hat braid together lengthwise. Glue the second strip not on edge but half way covering the second strip. This will define the crown height so make it as tall as you would like. They should be long enough to go around a 3/4" dowel. Glue the ends together around the dowel and then glue the disk made in step 1 on the top. Barely glue the edge. If you need more glue then add more to the inside so it won't be seen.
|
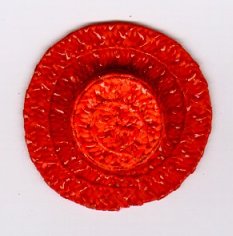
| Step
3
The Brim
|
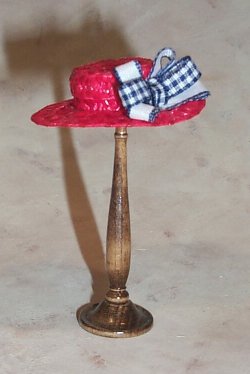
Step 4 Glue the crown to the brim at the center and decorate to your hearts content.
|
Here is the finished Hat. Enjoy....!
Thank you for visiting my site and hopefully you enjoyed my tutorial.
Just as a gentle reminder, that tutorial was written to help to stimulate your creativity.
This Tutorial, Pictures, & Instructions are copy-righted & are not to be used as a tutorial of your own.
This means you may not copy and post this tutorial to your own website, or print it out and sell or distribute it as your own.