![]()
The Lacy Hat !
By Kathi R. Mendelhall of La Petite Belle Patterns
|
Step 1 Gather your tools. I have a 5/8" dowel and a 3/4" dowel with a half ball on top. You can use either. A circle template, scissors, rose tool, needle tool, glue, tweezers and a small white floral stem.
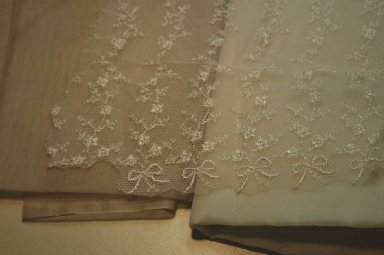
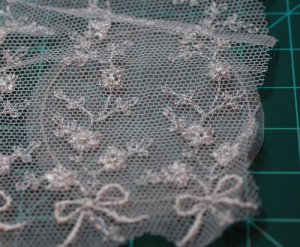
Step 2 Interview your
fabrics. Pull out the fabric with your lace and see which sheer voile you
have that looks best with your lace. My lace is a very light pink, so I have
to choose between ecru and ivory. Use a color wheel to help you
decide what colors will be best for your hat if you are not sure. Analogous
is all one color, complementary is on opposite sides of the color wheel.
Select the color for your hat band and highlight ribbons. Here I have chosen
a soft green. It's time to select ribbons for your roses. I like a bit
of contrast so went for a deep red color. I've selected more
colors in ecru's that I like with the red and rose colors.
Step 3
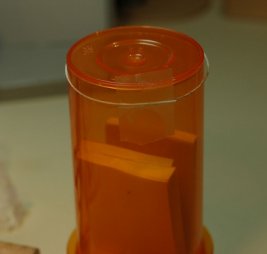
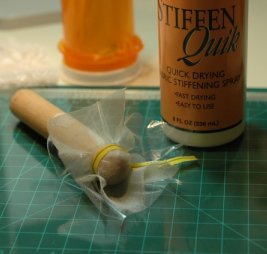
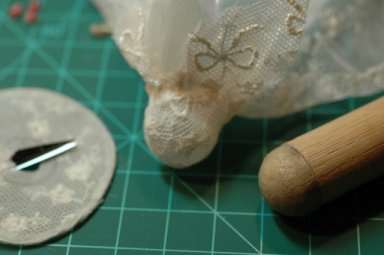
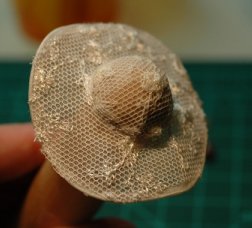
Step 4 Cover your dowel
tool with a plastic wrap, voile and lace. Here I have used a "twisty", but
later I change it to a rubber band. A rubber band is better. Pull the fabric
all around until straight under the band and spray with your stiffener. I
used Aleene's in this project. Set aside for a few hours to dry. Step 5
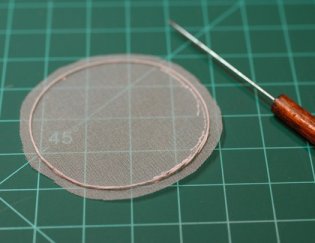
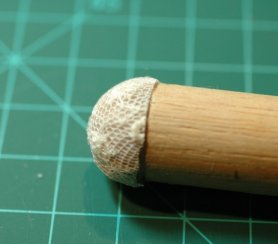
Add glue around the wire on the inside edge. Let it get a bit tacky. Start folding the voile to the inside and stick it into the glue. Keep the wire round. Take your time. It might take a few times around. Use the needle tool to make the edge nice and sharp. You can trace around the edge with the needle tool.
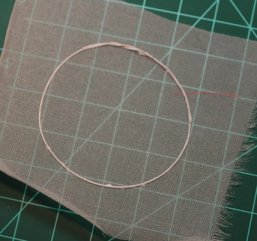
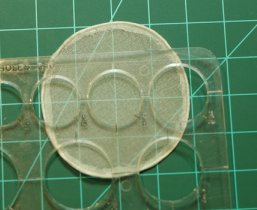
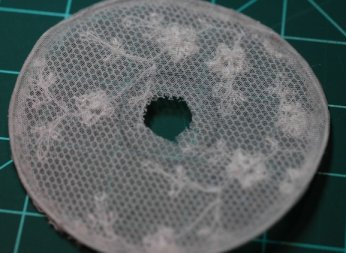
Step 6 Find the center and mark a 5/8" circle. (10mm) Mark it with a pencil.
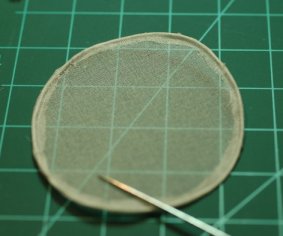
While the glue is still drying, I look at the design on my lace. Since most of the lace on the front is covered with flowers I want to show off the lace on the back. So, I think this is where I want to cut my lace. Okay, the glue should be dry.
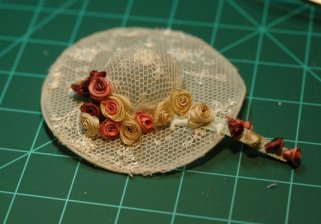
Step 7
Cut lace to fit inside the upper circle of the brim and glue down to the voile. Tuck into the edges with a needle tool. Cut the little center out of hat brim. Now it is time to make roses. I make 2 roses all one color, then the next rose is a dark center and the next color lighter as the outside. Then 2 roses of the medium color, and so on. I finish up with the last rose with a light center and the first color on the outside. Make some buds. They are around the tool with one or two folds only.
Step 8 Trim the center to make tabs.
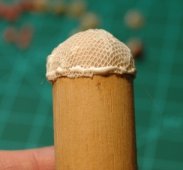
Once the lace and voile are dry, you can remove it from the dowel. Carefully remove the plastic as it will stick a little bit.
The hat crown height is about 1/2". (8mm) Trim it even. I have used the dowel to help keep it straight
Step 9 Use your dowel as a jig. Place the crown on the dowel and run a bead of glue. Hat brim and crown ready to join. Slide the brim over the crown and even it up. Don't worry about the tabs. They will be hidden.
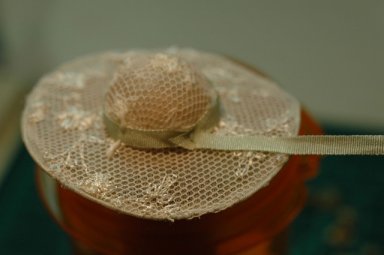
Step 10
Glue the ribbon band around the crown. You may want to add a piece of ribbon along the side to hang down over the edge. If you'd like to add some wire here, that would be okay, too.
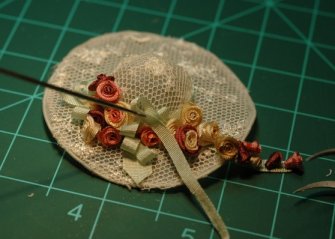
Use the needle tool to add some ribbon loops
inside the flower arrangement. Add a 7mm ribbon for more accent.
Step 11
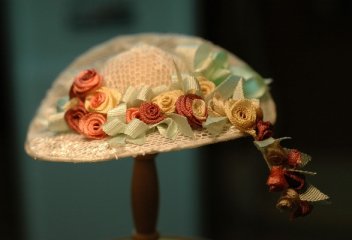
Finally, something to show! I have added the 12 roses and the 9 buds. I don't think it is enough. So I have to make more. Step 12 A drum roll Please!!
Thank you for visiting my site and
hopefully you enjoyed my tutorial.
Just as a gentle reminder, that
tutorial was written to help to stimulate your creativity. This Tutorial, Pictures, & Instructions are copy-righted & are not to be used as a tutorial
of your own. This
means you may not copy and post this tutorial to your
own website, or print it out and sell or
distribute it as your own.
|